Using Hog Rings For Upholstery: How To Install Car Seat Covers
Hog rings are durable and permanent fastening solutions that are used in many applications, including automotive upholstery. Many hog rings are made from strong materials like steel that can withstand wear and tear, and they’re also relatively inexpensive, making them a cost-effective solution for upholstery projects. Plus, with the right tools, installing hog rings onto upholstery is straightforward.
If you’re thinking about reupholstering your car or installing new seat covers, read on for detailed step-by-step installation instructions and expert tips.
Required Tools
Using hog rings for auto upholstery projects is simple, especially if you’ve already come prepared with these essential tools:
- Side-cutting metal snips (for removing old fasteners)
- Wrench (for uninstalling car seats)
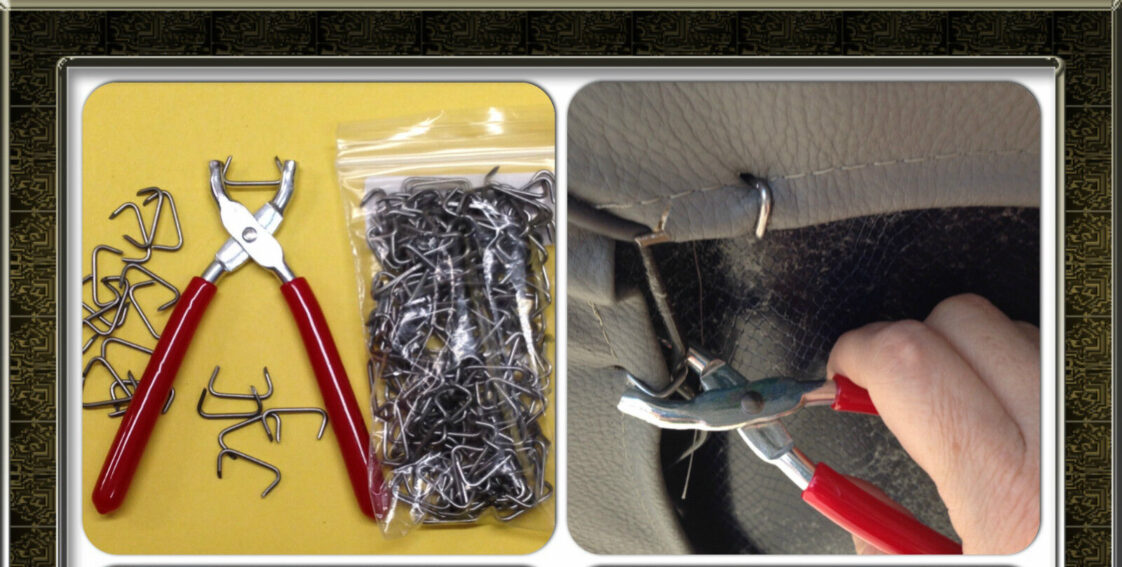
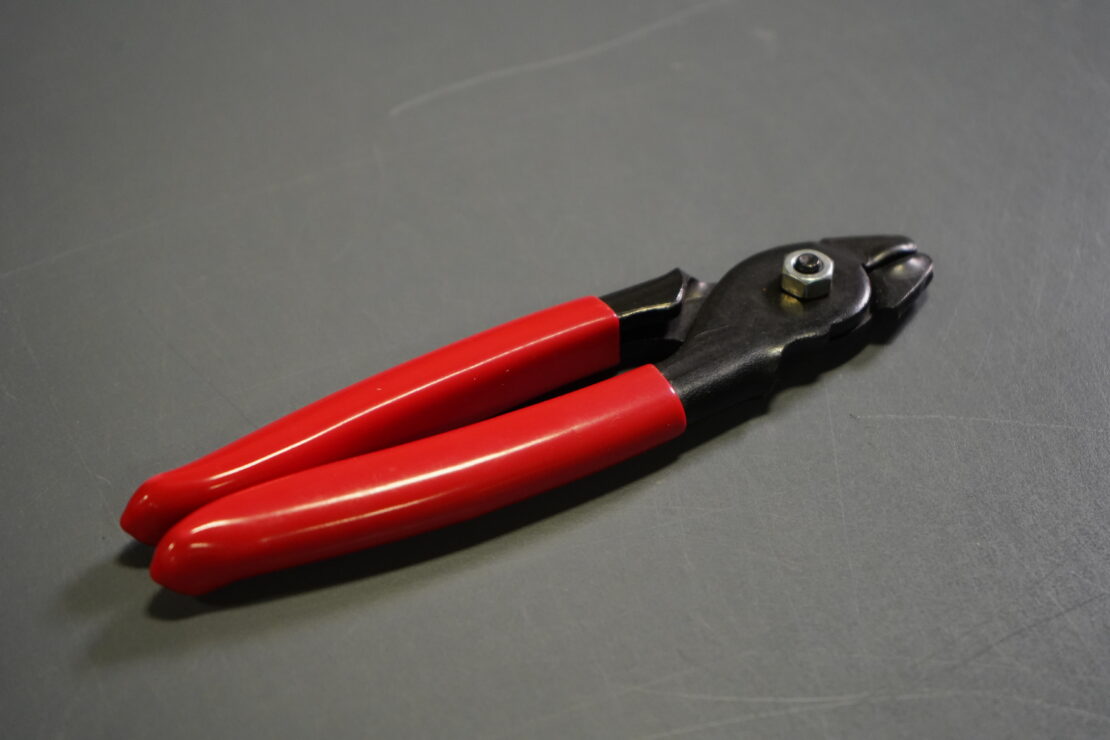
- Hog ring pliers
While it’s possible to install hog rings with regular pliers, notched slip-joint pliers, locking pliers, or channel locks, it won’t be as simple as using hog ring pliers. Additionally, the probability of errors and beginner mistakes is increased. Hog ring pliers are relatively cheap and designed specifically for installing hog rings, so it’s really the better option.
Which Type of Hog Ring Should You Use?
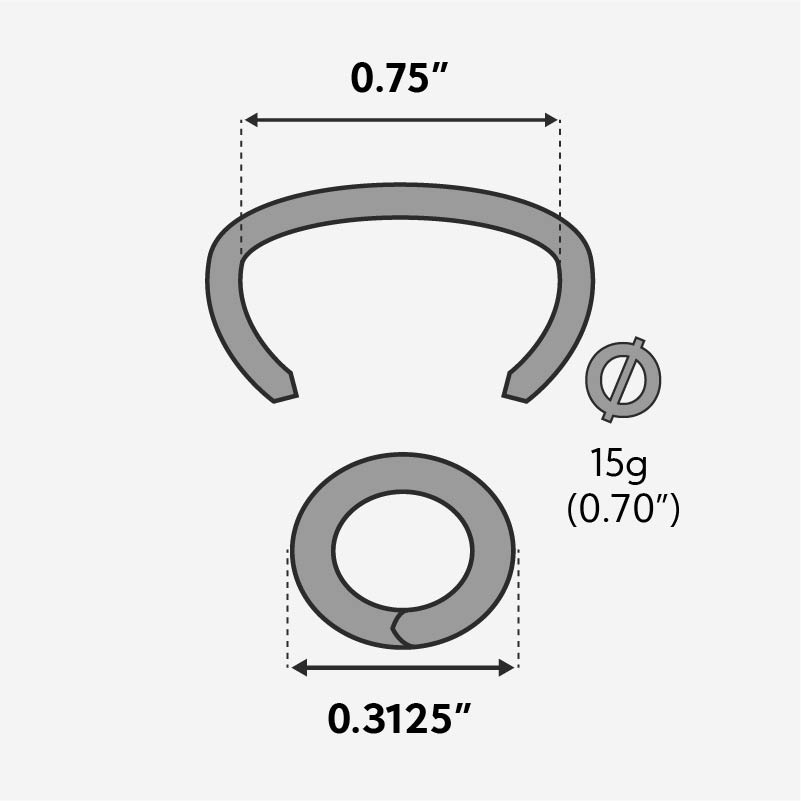
Three-fourth-inch C-style hog rings (preferably made from stainless or galvanized steel) are the best choice for most auto car seats. Upholstery hog rings are typically 11-gauge at minimum. You’ll want upholstery hog rings with pointed ends, not blunt, to penetrate the upholstery material more easily and accurately. However, it’s always smart to check which type of hog ring a manufacturer recommends for upholstery projects.
Installation Steps
Note that there are thousands of different car seats. Some may use Velcro or J-hooks rather than hog rings. So, it’s impossible to make a single set of instructions that applies to all makes and models equally.
With that in mind, you can look at the reupholstering process in terms of three steps: preparation, removing the old seat covers, and installing the new ones. Let’s look at each move of this straightforward process in more detail.
Removing the Car Seat
As with any project, it’s good to have everything you need within arm’s reach. The good news is that, for this type of project, you don’t need many tools or equipment to achieve excellent results.
The first step is removing the car seat. Use a wrench to uninstall the bolts. Place the bolts in a small plastic bag near you to keep them all in one place so you don’t lose them throughout the process.
Then, lay down a scrap piece of carpet or rug on a work table or workbench. Place your hog rings in an open-top container for easy access, ensure your hog ring pliers are lubricated and ready to use, and place the seat you’re working on onto the rug.
Removing Old Seat Covers
- Remove the back of the seat from the bottom of the seat.
- Remove the seat back’s access cover to expose the hog rings.
- Turn the bottom of the seat upside down to expose the hog rings.
- Use side-cutting pliers to remove the existing hog rings from the old seat cover.
When cutting the existing hog rings that hold the seat cover onto the foam cushion beneath, be gentle so that you don’t cause damage to the metal frame or listing wire underneath the padding.
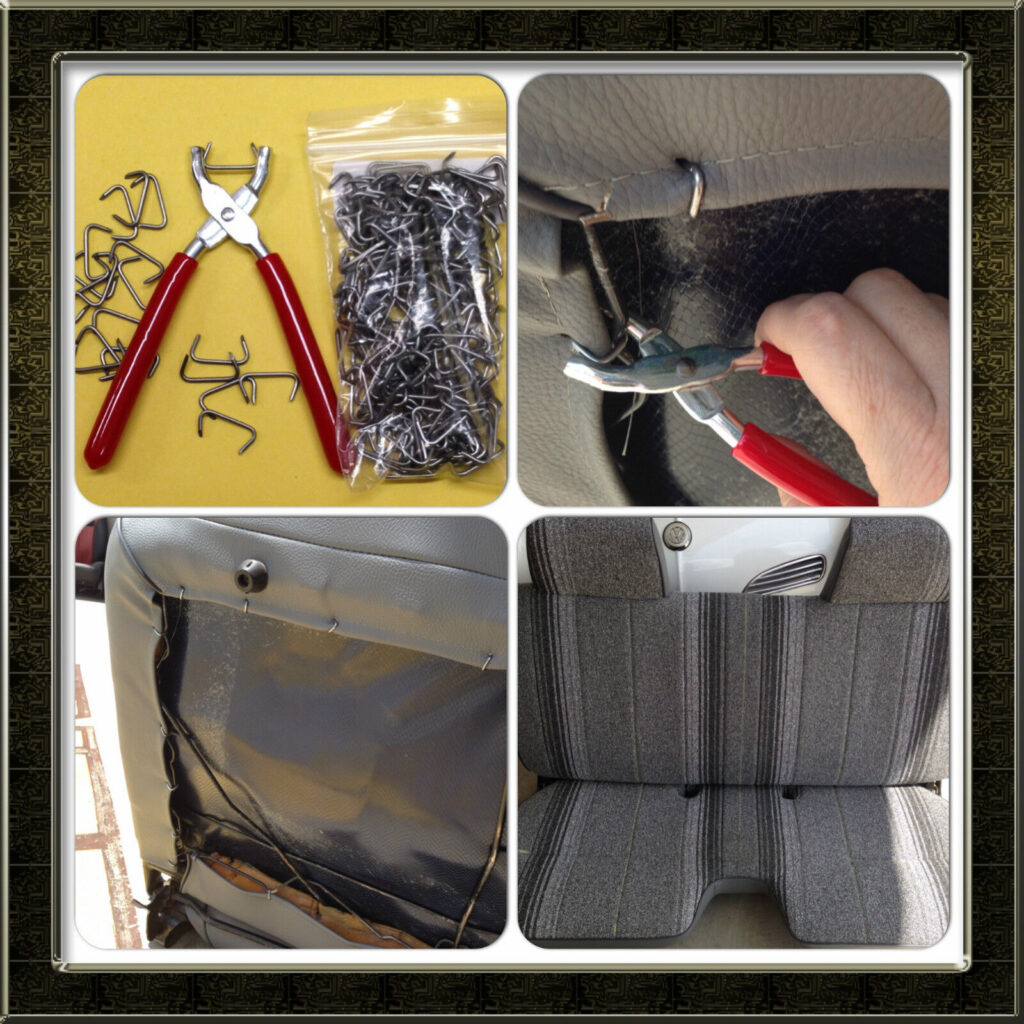
Installing New Covers
To attach your new seat bottom and back covers:
- Stretch out and position.
- Position a hog ring into your hog ring pliers.
- Firmly press the hog ring into the padding so that it is in position to encircle the listing wire or attachment loop.
- Squeeze the pliers together to overlap the ends of the hog ring. When the hog ring is closed, it should look like a triangle or circle.
- Repeat this process at each attachment point.
Work sequentially and ensure each hog ring is installed firmly and properly. Keep stretching the upholstery material to ensure proper placement as you proceed.
Where to Purchase High-Quality Upholstery Hog Rings
King Steel Fasteners is a trusted supplier of hog rings. Since 1995, we’ve delivered high-quality products and excellent advice to our North American customer base.
Contact us today if you’re unsure which type of hog rings you need or would like to request a quote. If you’re ready to purchase hog rings for your upholstery project, visit us online to browse our available products.